VIM is a household name in the Unix world. To most, it is their primary text editor, used for day-to-day editing tasks regardless of complexity. I am starting a series that explores VIM and its uses, as well as how I utilise VIM in my development environment. However, we will begin with the installation.
For most Unix installations, vi should already be pre-installed. You can verify this by running vi --version. In some cases, vi has been symlinked to the vim command and can return the help of VIM instead of vi, indicating that Vim is already installed.
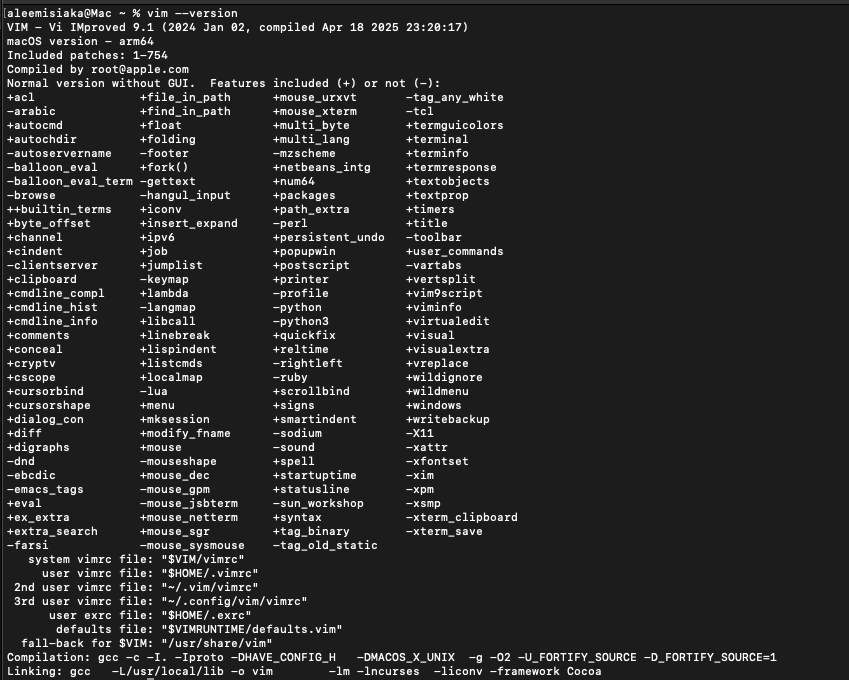
We can also verify if Vim is installed by running vim --version, which should show a result like this:
In that case, we no longer have to worry about the installation.
In any case, if you encounter a command not found error for either vi or vim, proceed to the next section.
Installation guides
Mac OS
Install VIM via Homebrew:
| |
Linux
Debian
Use the apt repository for installation.
RHEL / CentOS
Alpine
Verifying Installation
After running the correct installation command for your environment, use the version command to verify Vim can respond appropriately:
| |
First VIM edit
To edit any file or create a new one if it doesn’t exist. Run vim filename and type what you want to put in the file. When you are done, press the ESC key on your keyboard and type :wq . Then, press ENTER to save and exit the Vim window.
The filename file should now contain whatever you typed before pressing the ESC button.
Verify this by running cat filename.
That is it!
Ciao